MagicalTie is a multi purpose HTML5 and CSS3 site template, modern and unique. MagicalTie is a fully responsive on phone, tablet and all PC’s … headlines and content optimized for seo. Content loaded before sidebar for better searching in search engines.
Main Features
- 21 HTML Validated
- 17 PSD Layered
- Corporate, Blog & Magazine Layouts
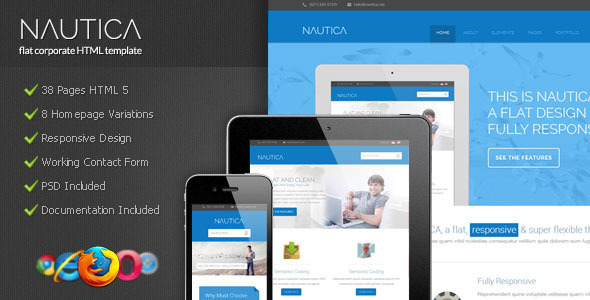
- Fully Responsive Design
- PHP Ajax Contact Form
- Retina Ready Icons
- jQuery FlexSlider
- Boxed, Blocked and Fullwide Layouts
- jQuery Flex Carousel Plugin
- built on bootstrap 2.3.x
- Grid system
- 40+ pattern and background
- portfolio 4 page
- blog right and left sidebar
Visit on your Smart Devices

Credits
- jquery.min.js
- iview.js
- jflickrfeed.min.js
- jquery.easing.1.3.js
- jquery.flexslider-min.js
- jquery.prettyPhoto.js
- jquery.quicksand.js
- raphael-min.js
- superfish.js
- bootstrap.js
- bootstrap.css
- FontAwesome
Updates
- Initial Release 13 June 2013